GREEN SCREEN TUTORIAL
- By Nicholas Westerlund
- •
- 21 Jul, 2016
- •
UNDERSTANDING THE BASIC PRINCIPLES OF KEYING
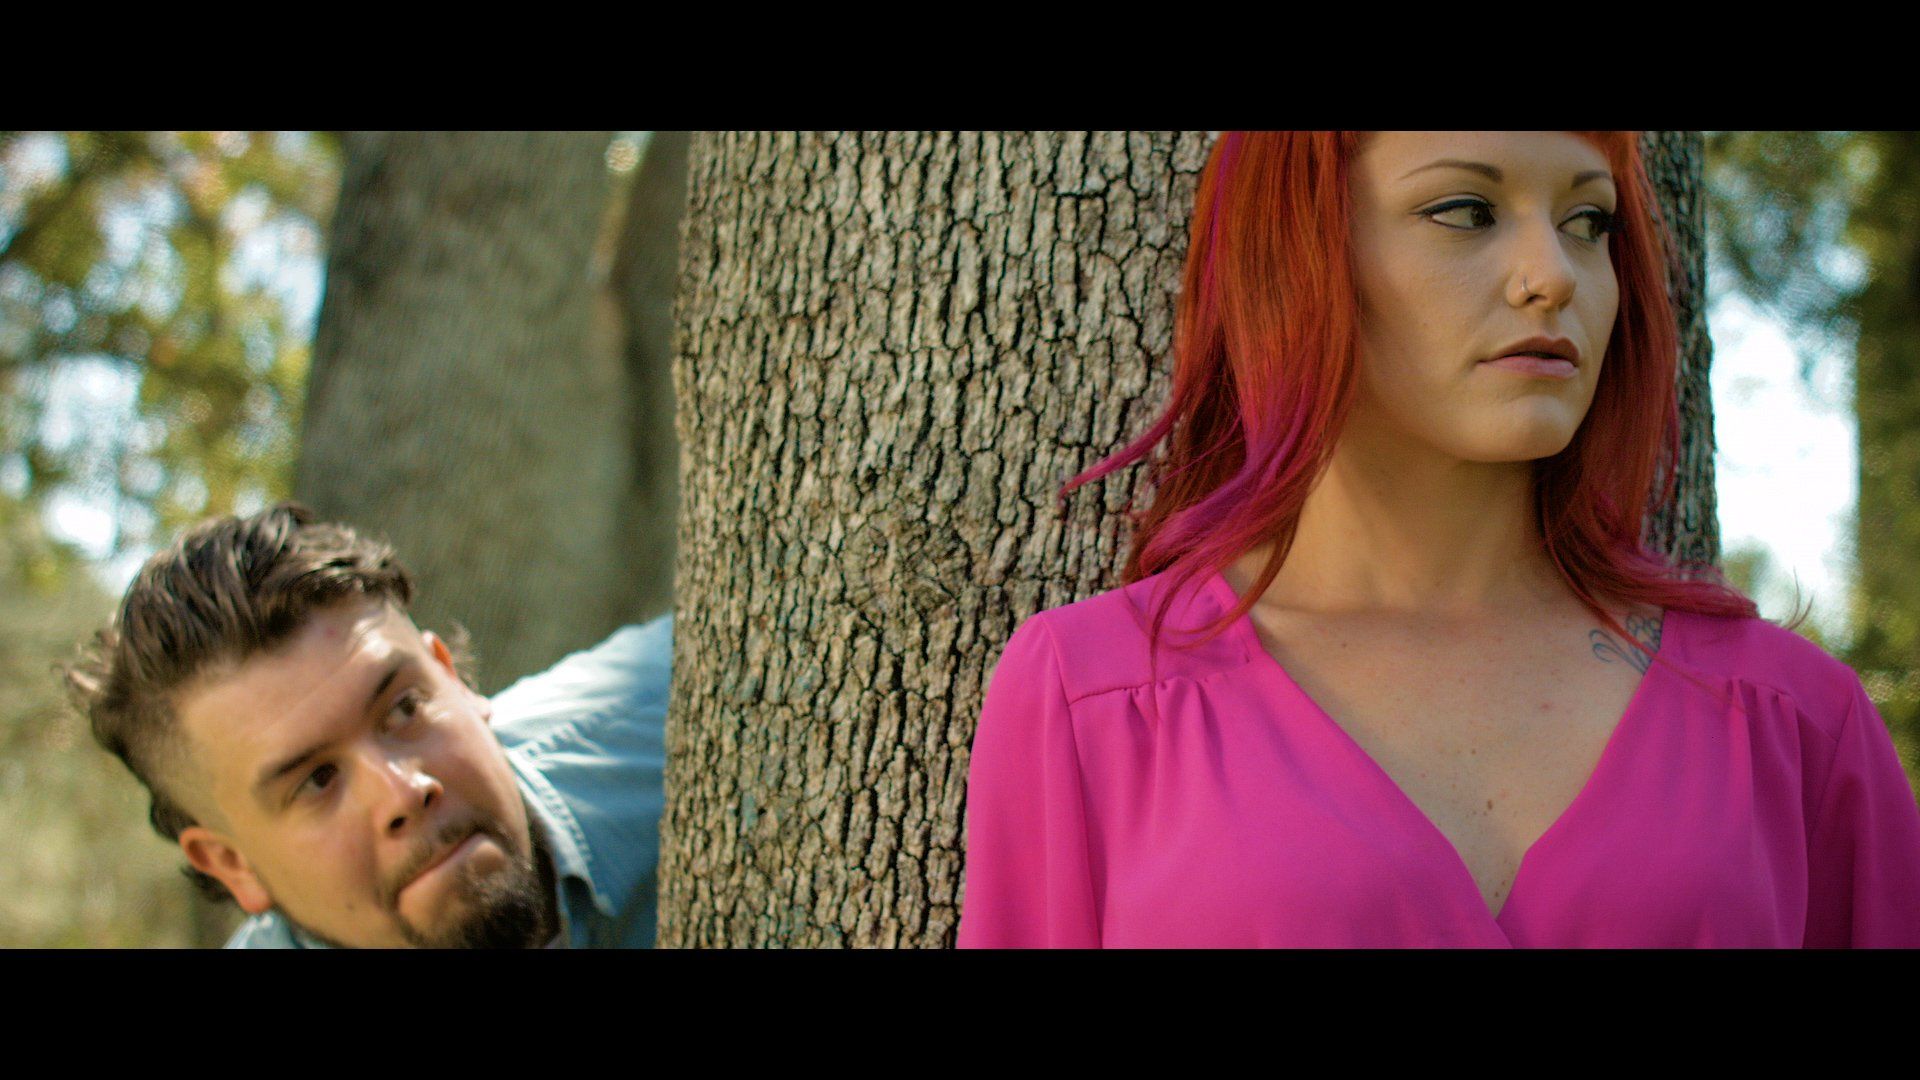
The purpose of this tutorial is to give you a better understanding of the proper techniques to remove a green/blue screen from your shot for video production. I have received many questions on the subject matter and feel that this tutorial is the best way to explain how to do this properly. Above is a recent video I did for an amazing performing artist "A Guy Named Joe Leavy". Please feel free to check out at his music @ www.joeleavy.com
Here is a list of items you will need.
1) A green/blue screen or chroma key green or blue paint.
2) At least four lights with 5600k daylight bulbs.
3) Diffusers to help spread the light through your shot such as a semi-transparent thin white silk cloth.
4) A camera with lenses.
5) A tape measure.
7) Masking Tape
8) A lapel or shotgun mic and audio recorder.
9) Adobe Premiere CC
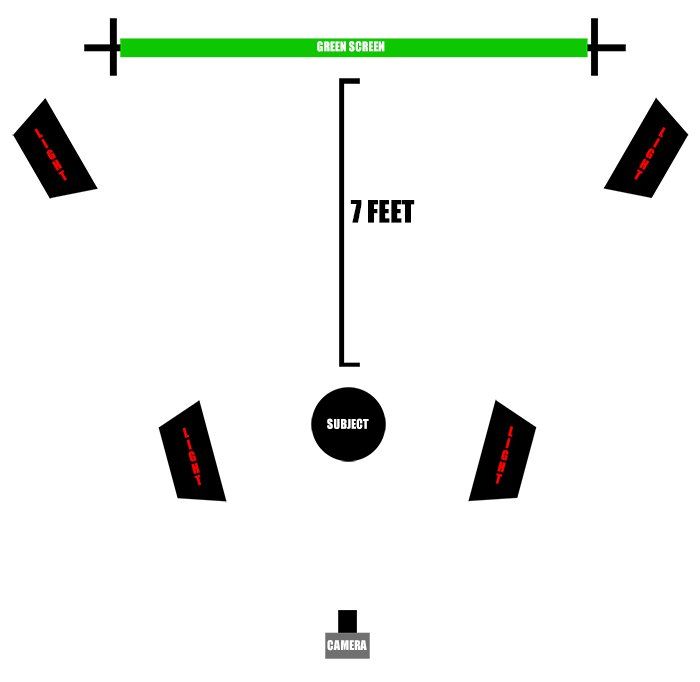
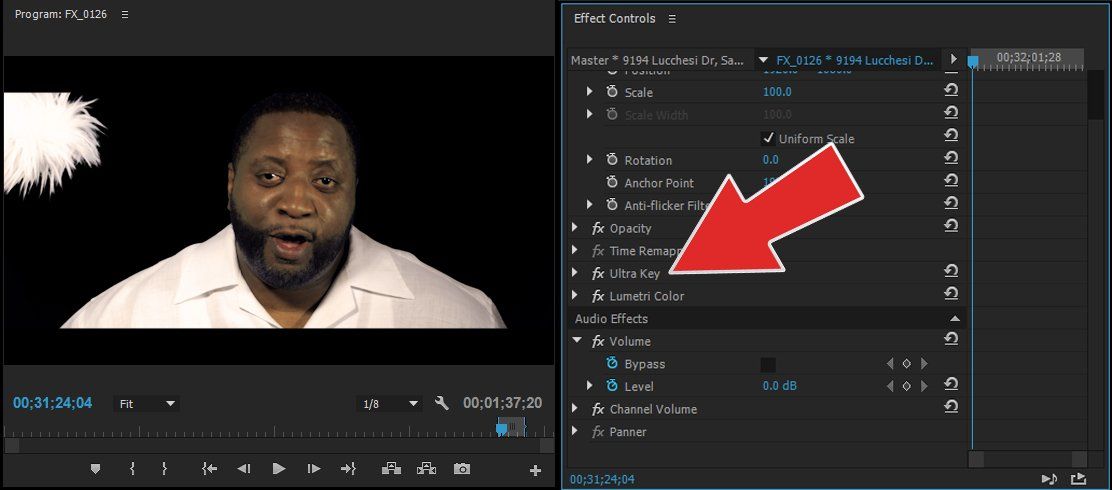
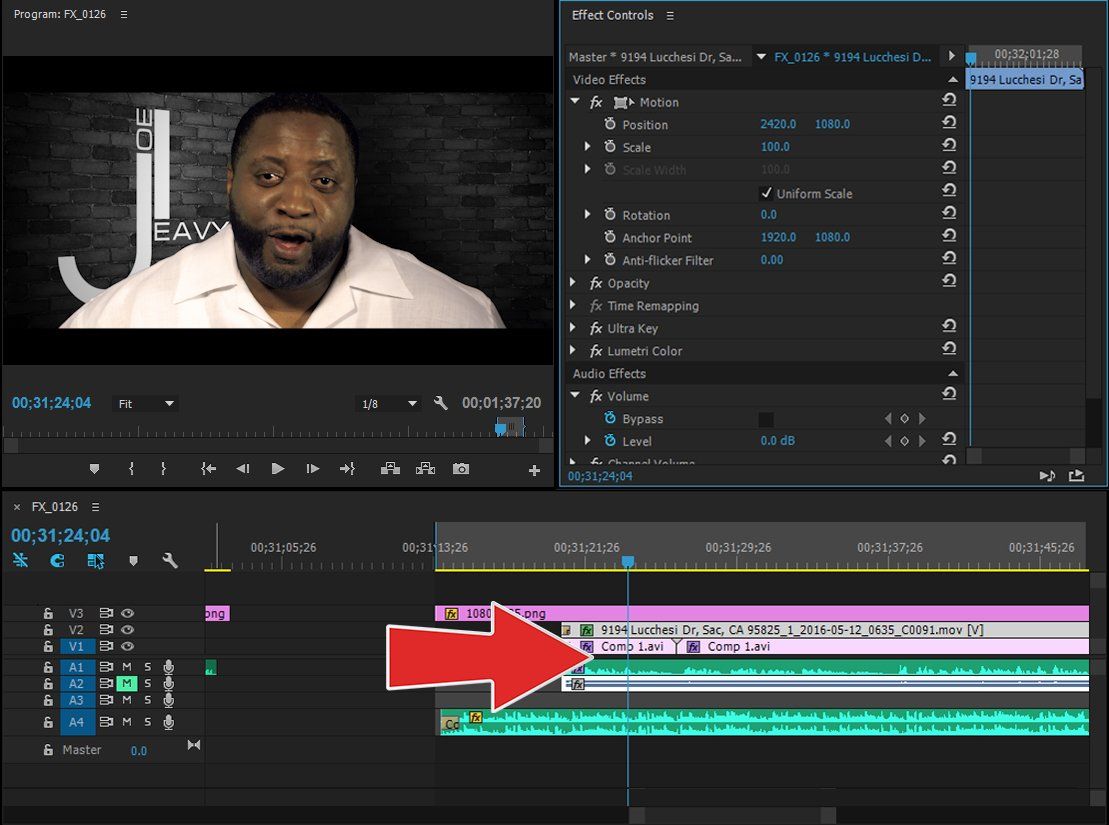
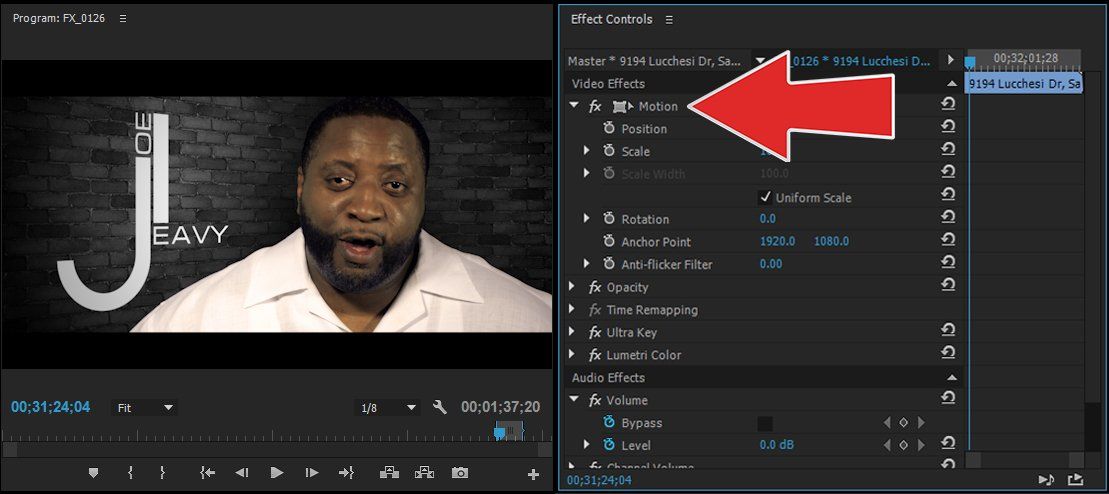
Hang your green screen using thumb tacks or a stand behind your subject. Make sure that you have adequate space in the room. Take two lights and position them at each side of the green screen. You do not want the lights to point directly onto the green screen because this will cause the lighting on your screen to be uneven. Use the Silk cloth to diffuse the light hitting the green screen by hanging it in front of the light. Warning do not let the material touch hot light bulbs this could cause a fire and never leave your lighting on unattended. Adjust the light until you have even light across the whole screen use your camera to reference your shot. Use the tape measure to measure 7 feet from the green screen, use masking tape to mark an X or use a chair as a marker. Position the other two lights on each side of your subject, again do not point the lights directly on your subject to avoid hard uneven lighting. Have your subject stand on their mark and adjust the lighting accordingly referencing your shot in your camera. Your camera's distance from your subject will vary greatly depending on the type of lens being used compose your shot accordingly. Depending on the situation lapel mics are a great way to get good audio for your production. Another option to record high-quality audio is to use a shotgun microphone. position your mic as closely to your subject as possible, just out of the frame of your camera and aimed at your subjects mouth. Now that you have the basic idea of your setup let's move on to post editing. Below is a diagram for reference.